VSCode
VSCode
VSCode 下载
官网下载 VSCode 速度比较慢, 可以在下载时将直链替换国内镜像地址, 以达到更快的下载速度.
在下载按钮上右键复制链接, 或者点击下载后在浏览器下载或者是其他下载工具中可以找到软件下载的直链
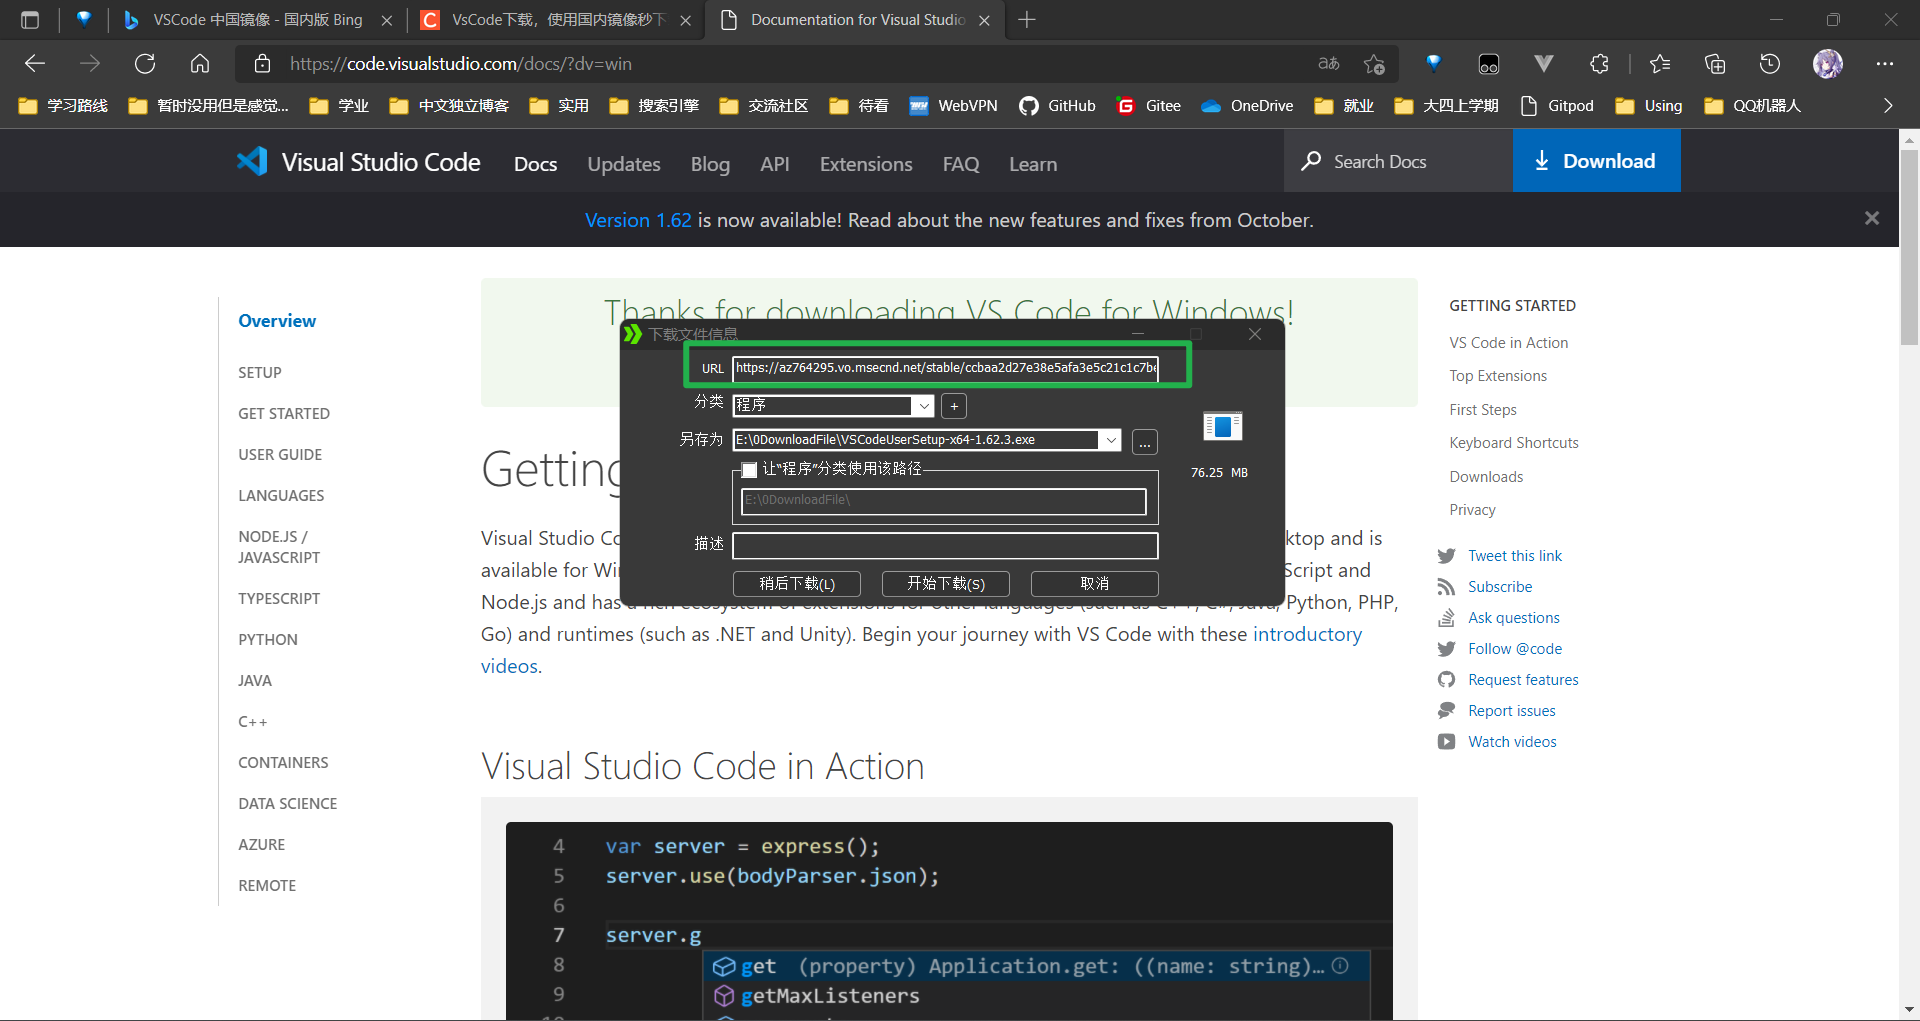
复制该 URL 然后将 /stable 前的地址替换为国内镜像地址再进行下载即可, 如:
- 原地址:
https://az764295.vo.msecnd.net/stable/ccbaa2d27e38e5afa3e5c21c1c7bef4657064247/VSCodeUserSetup-x64-1.62.3.exe
将az764295.vo.msecnd.net替换为vscode.cdn.azure.cn得到新地址:
新地址:https://vscode.cdn.azure.cn/stable/ccbaa2d27e38e5afa3e5c21c1c7bef4657064247/VSCodeUserSetup-x64-1.62.3.exe
然后通过这个新地址下载即可
安装
wget https://az764295.vo.msecnd.net/stable/97dec172d3256f8ca4bfb2143f3f76b503ca0534/code_1.74.3-1673284829_amd64.deb
su root
apt install ./code_1.74.3-1673284829_amd64.deb
ps: 下载链接请参阅 官网
直接sudo apt install ...可能会报权限不够的问题,先su root似乎不会
安装完成后需要使用
sudo code --no-sandbox --disable-gpu-sandbox --user-data-dir="~/.vscode"
来以管理员模式打开 VSCode, 但是似乎无法使用中文输入法(ubuntu2204)
不用管理员模式, 直接打开 VSCode 的话似乎无法编辑系统盘之外硬盘的文件, 这是因为挂载硬盘的时候可能使用的 root 账户, 所以普通用户没有权限, 可以 su root 后使用 chmod -R 777 [目标目录] 来放通权限
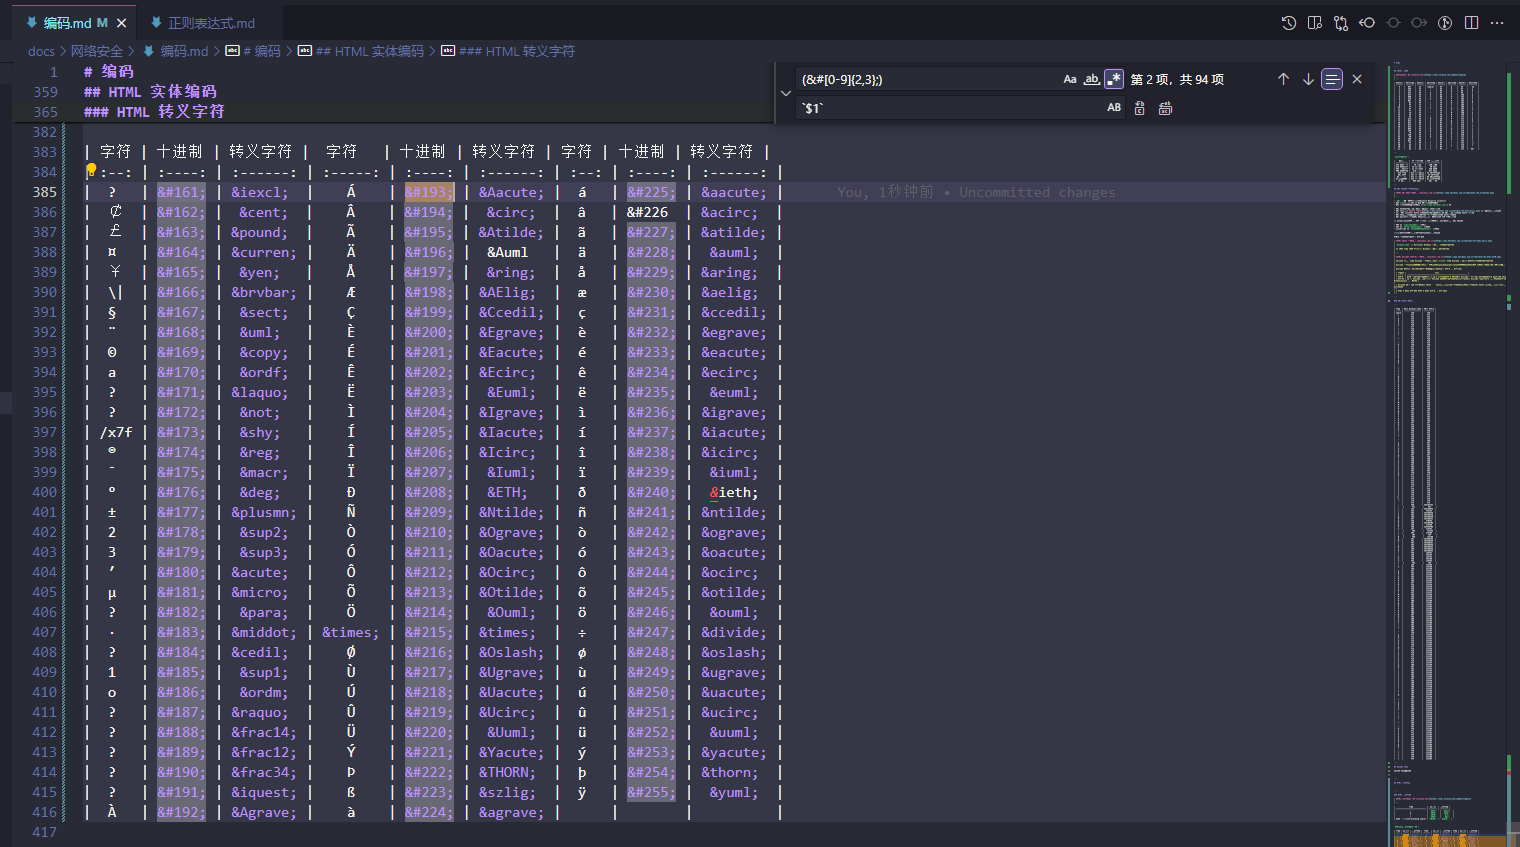
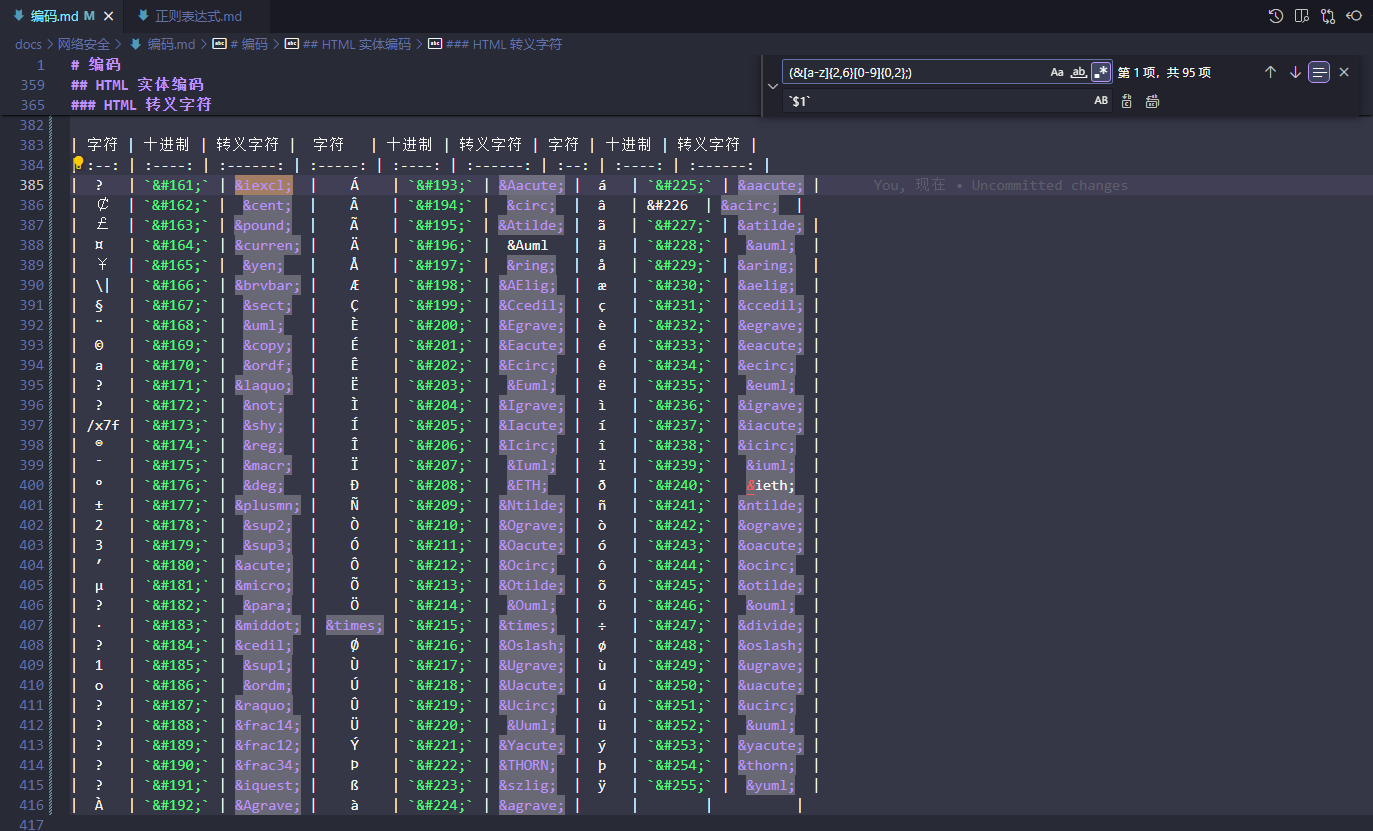
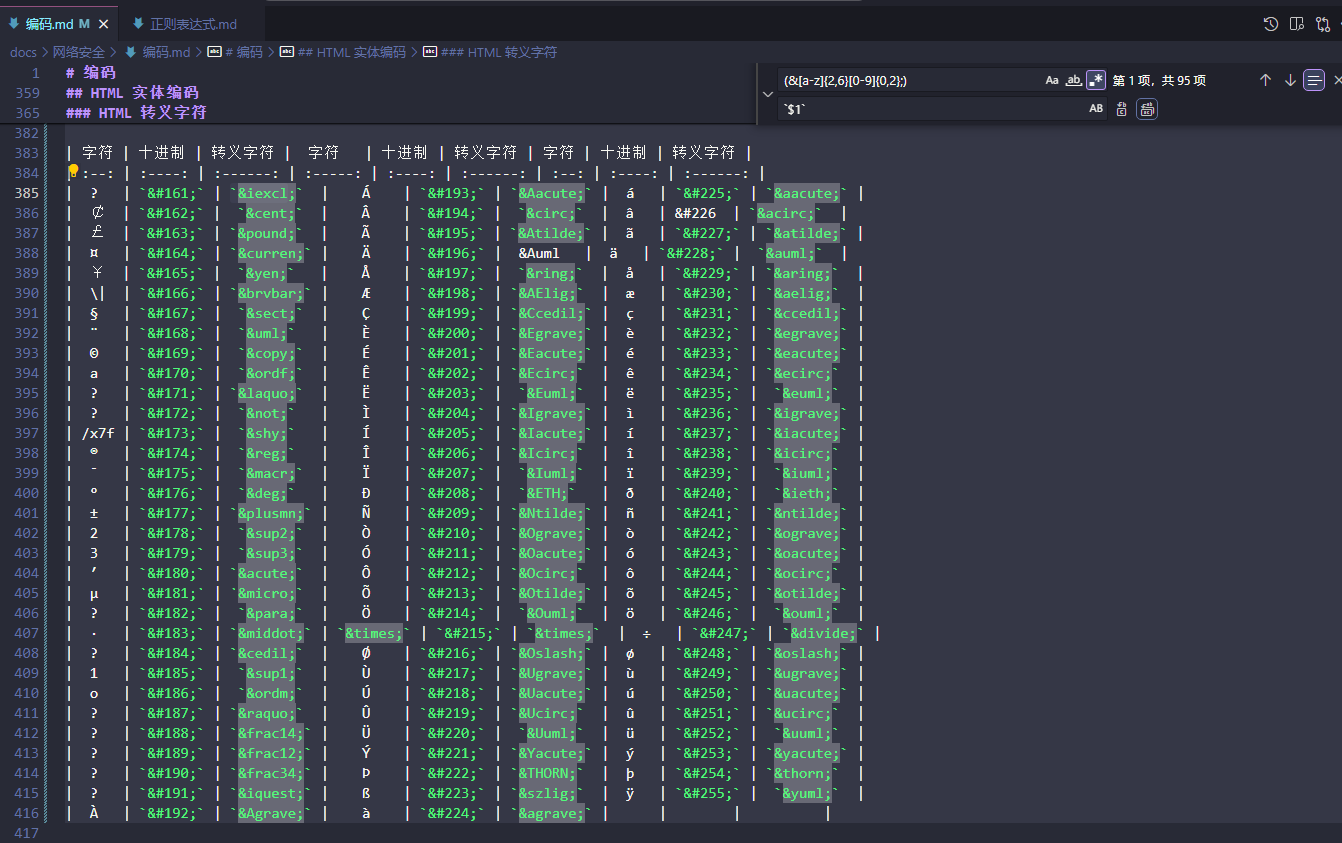
查找替换
使用正则表达式
VS Code 正则匹配替换 - 知乎 (zhihu.com)
(&#[0-9]{2,3};)
`$1`
需要注意的是匹配部分的
()可以划定分组, 在替换部分可以使用$x来指代匹配到的分组

(&[a-z]{2,6}[0-9]{0,2};)
`$1`
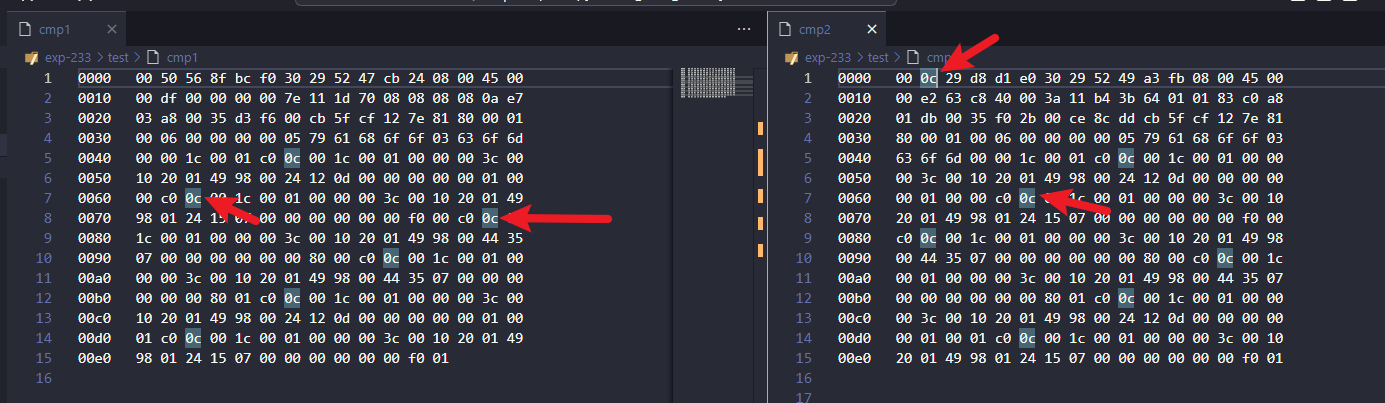
删掉空行
^\s*$
似乎没有成功把空行替换为空字符, 这里先保存一下
配置
多文档突出显示 Multi-document highlighting
Visual Studio Code October 2023 --- Visual Studio 代码 2023 年 10 月
在 VSCode 2023 年 10 月的 v1.84 版本更新中, 加入了一项实验功能
multiDiffEditor.experimental.enabled

这样就可以跨文件高亮选中元素了:
https://code.visualstudio.com/assets/updates/1_84/multi-doc-occurrences.mp4
用户代码片段
设置 -> 用户代码片段
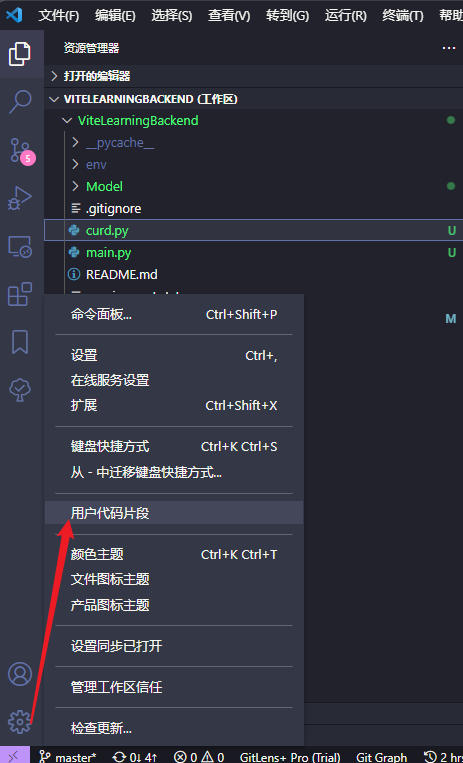
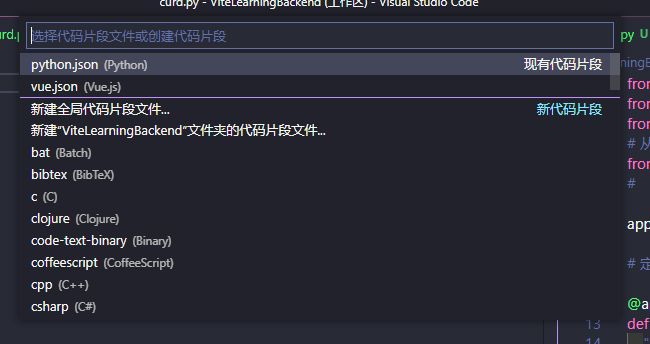
自用代码片段 stash
python.json:
{
  // Place your snippets for python here. Each snippet is defined under a snippet name and has a prefix, body and
  // description. The prefix is what is used to trigger the snippet and the body will be expanded and inserted. Possible variables are:
  // $1, $2 for tab stops, $0 for the final cursor position, and ${1:label}, ${2:another} for placeholders. Placeholders with the
  // same ids are connected.
  "python-template": {
    "prefix": "py",
    "body": [
      "'''",
      "-*- encoding: utf-8 -*-",
      "@文件: $RELATIVE_FILEPATH",
      "@时间: $CURRENT_YEAR/$CURRENT_MONTH/$CURRENT_DATE $CURRENT_HOUR:$CURRENT_MINUTE:$CURRENT_SECOND",
      "@作者: 咸鱼型233",
      "@说明: ",
      "'''"
    ]
  }
}
vue.json:
{
  // Place your snippets for vue here. Each snippet is defined under a snippet name and has a prefix, body and
  // description. The prefix is what is used to trigger the snippet and the body will be expanded and inserted. Possible variables are:
  // $1, $2 for tab stops, $0 for the final cursor position, and ${1:label}, ${2:another} for placeholders. Placeholders with the
  // same ids are connected.
  // Example:
  // "Print to console": {
  // 	"prefix": "log",
  // 	"body": [
  // 		"console.log('$1');",
  // 		"$2"
  // 	],
  // 	"description": "Log output to console"
  // }
  "vue-template": {
    "prefix": "vue3",
    "body": [
      "<script setup lang=\"ts\">",
      "</script>",
      "",
      "<template>",
      "<div>",
      "</div>",
      "</template>",
      "",
      "<style lang=\"less\" scoped>",
      "</style>"
    ],
    "description": "vue3 template"
  }
}
KoroFileHeader
可用于创建文件时自动生成注释
个人配置 stash
  // 头部注释
  "fileheader.customMade": {
    "Author": "咸鱼型233", // 创建文件的作者
    "Date": "Do not edit", // 文件创建时间(不变)
    "LastEditors": "咸鱼型233", // 文件最后编辑者
    // 由于编辑文件就会变更最后编辑时间,多人协作中合并的时候会导致merge
    // 可以将时间颗粒度改为周、或者月,这样冲突就减少很多。搜索变更时间格式: dateFormat
    "LastEditTime": "Do not edit", // 文件最后编辑时间
    // 输出相对路径,类似: /文件夹名称/src/index.js
    "FilePath": "Do not edit", // 文件在项目中的相对路径 自动更新
    // 插件会自动将光标移动到Description选项中 方便输入 Description字段可以在specialOptions更改
    "Description": "", // 介绍文件的作用、文件的入参、出参。
    // custom_string_obkoro1~custom_string_obkoro100都可以输出自定义信息
    // 可以设置多条自定义信息 设置个性签名、留下QQ、微信联系方式、输入空行等
    "custom_string_obkoro1": "",
    // 版权声明 保留文件所有权利 自动替换年份
    "custom_string_obkoro1_copyright": "Copyright (c) ${now_year} by 咸鱼型233, All Rights Reserved. "
  },
  // 函数注释
  "fileheader.cursorMode": {
    "description": "", // 函数注释生成之后,光标移动到这里
    "param": "", // param 开启函数参数自动提取 需要将光标放在函数行或者函数上方的空白行
    "return": "",
  },
  // 插件配置项
  "fileheader.configObj": {
    // 自动添加头部注释黑名单
    "prohibitAutoAdd": [
      "json"
    ],
    "folderBlacklist": [
      "node_modules",
      "README.md",
    ], // 文件夹或文件名禁止自动添加头部注释
  },
快捷键
文件头部注释快捷键
- 记录文件信息/文件的传参/出参,设置个性签名、留下 QQ、微信联系方式、输入空行等等
- 支持用户高度自定义注释选项, 适配各种需求的注释形式。
- 保存文件的时候,自动更新最后的编辑时间和编辑人
window:ctrl+win+i,mac:ctrl+cmd+i,linux:ctrl+meta+i,Ubuntu:ctrl+super+i
函数注释注释快捷键
更多关于函数参数自动请查阅配置-函数注释自动提取函数的参数文档
- 将光标放在函数行或者将光标放在函数上方的空白行。
- 自动解析函数参数,生成函数参数注释。
- 快捷键:
window:ctrl+win+t,mac:ctrl+cmd+t,linux:ctrl+meta+t,Ubuntu:ctrl+super+t
多行函数参数鼠标选中后函数声明后按快捷键自动提取
- 鼠标左键选择多行函数声明区域,函数声明区域尽量精准
- 按函数注释快捷键
扩展食用记录
基础使用
汉化

可以以中文模式显示 VSCode UI

open

用于从 VSCode 中使用系统默认应用打开文件

装了open插件之后 VSCode 不支持打开的文件可以通过右键菜单调用系统默认应用打开该文件;这样既不用再打开文件资源浏览器中的该文件再打开了
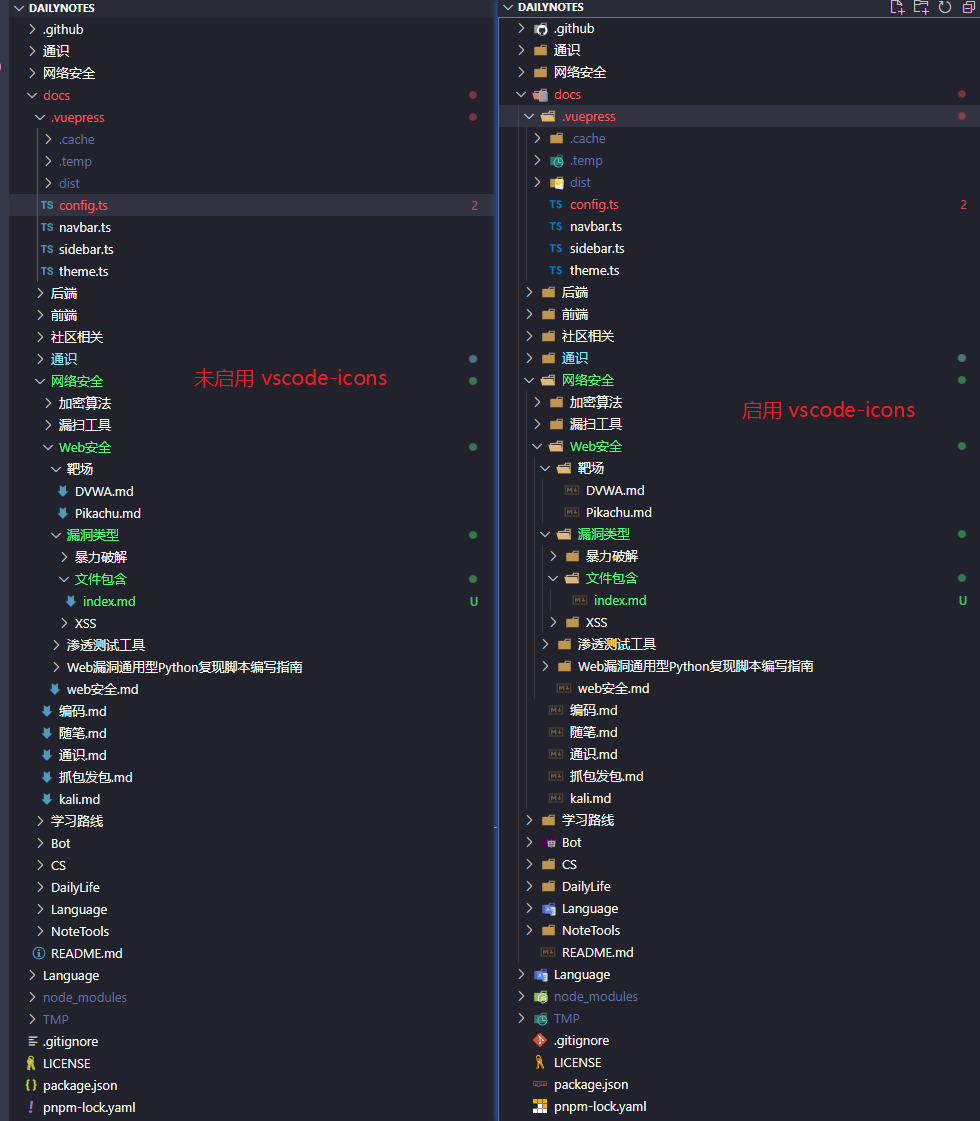
vscode-icons
该扩展可以让左侧文档树文档类型更加明显
Resource Monitor
显示设备(可以是远程连接的设备)当前的 CPU, 内存, 硬盘状态


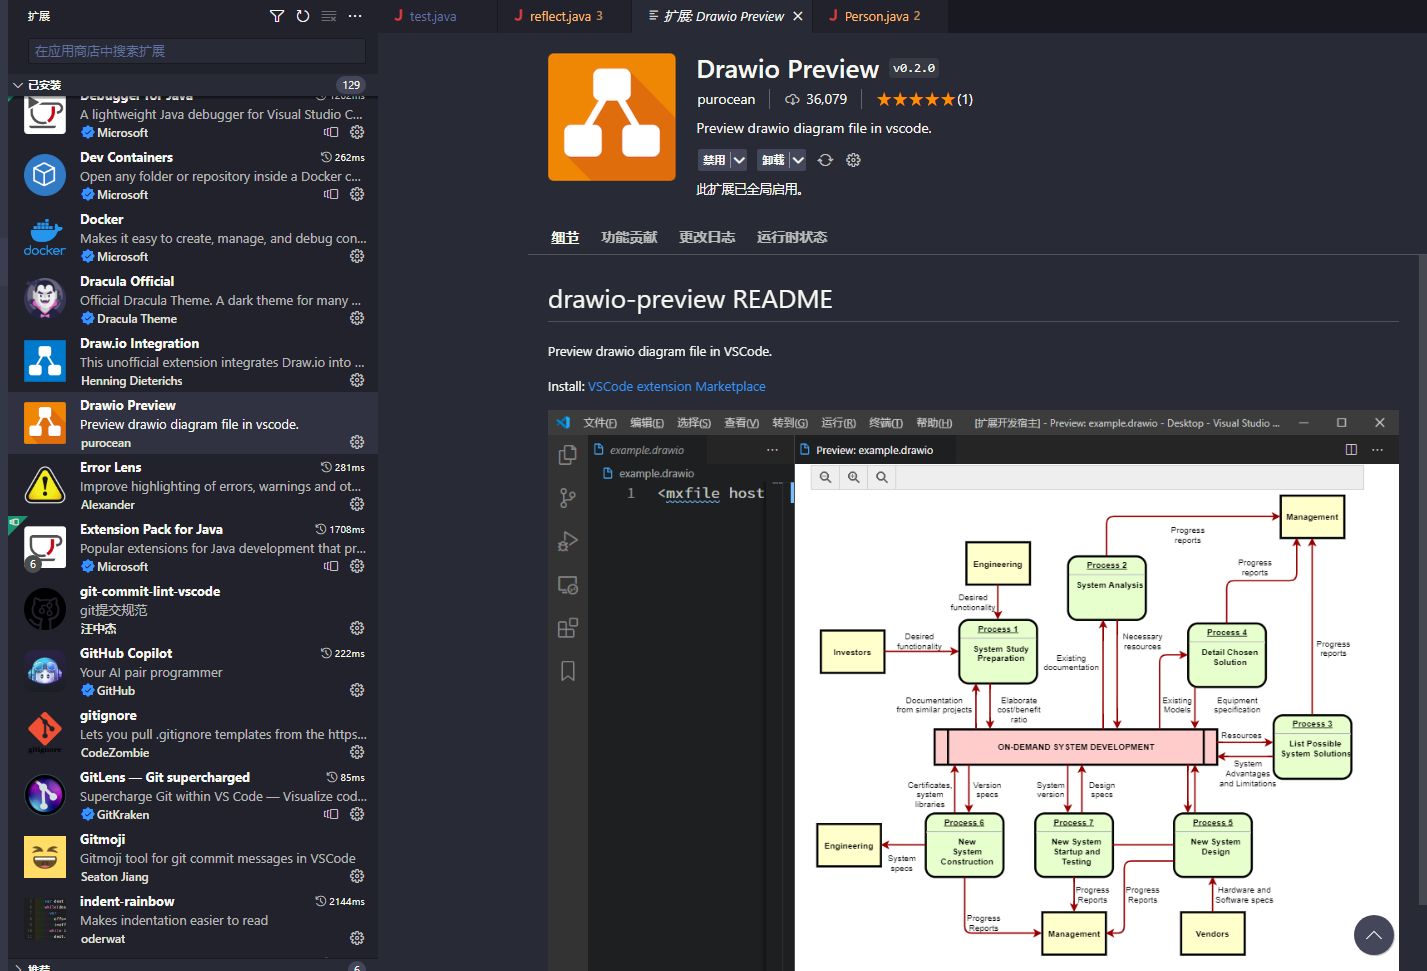
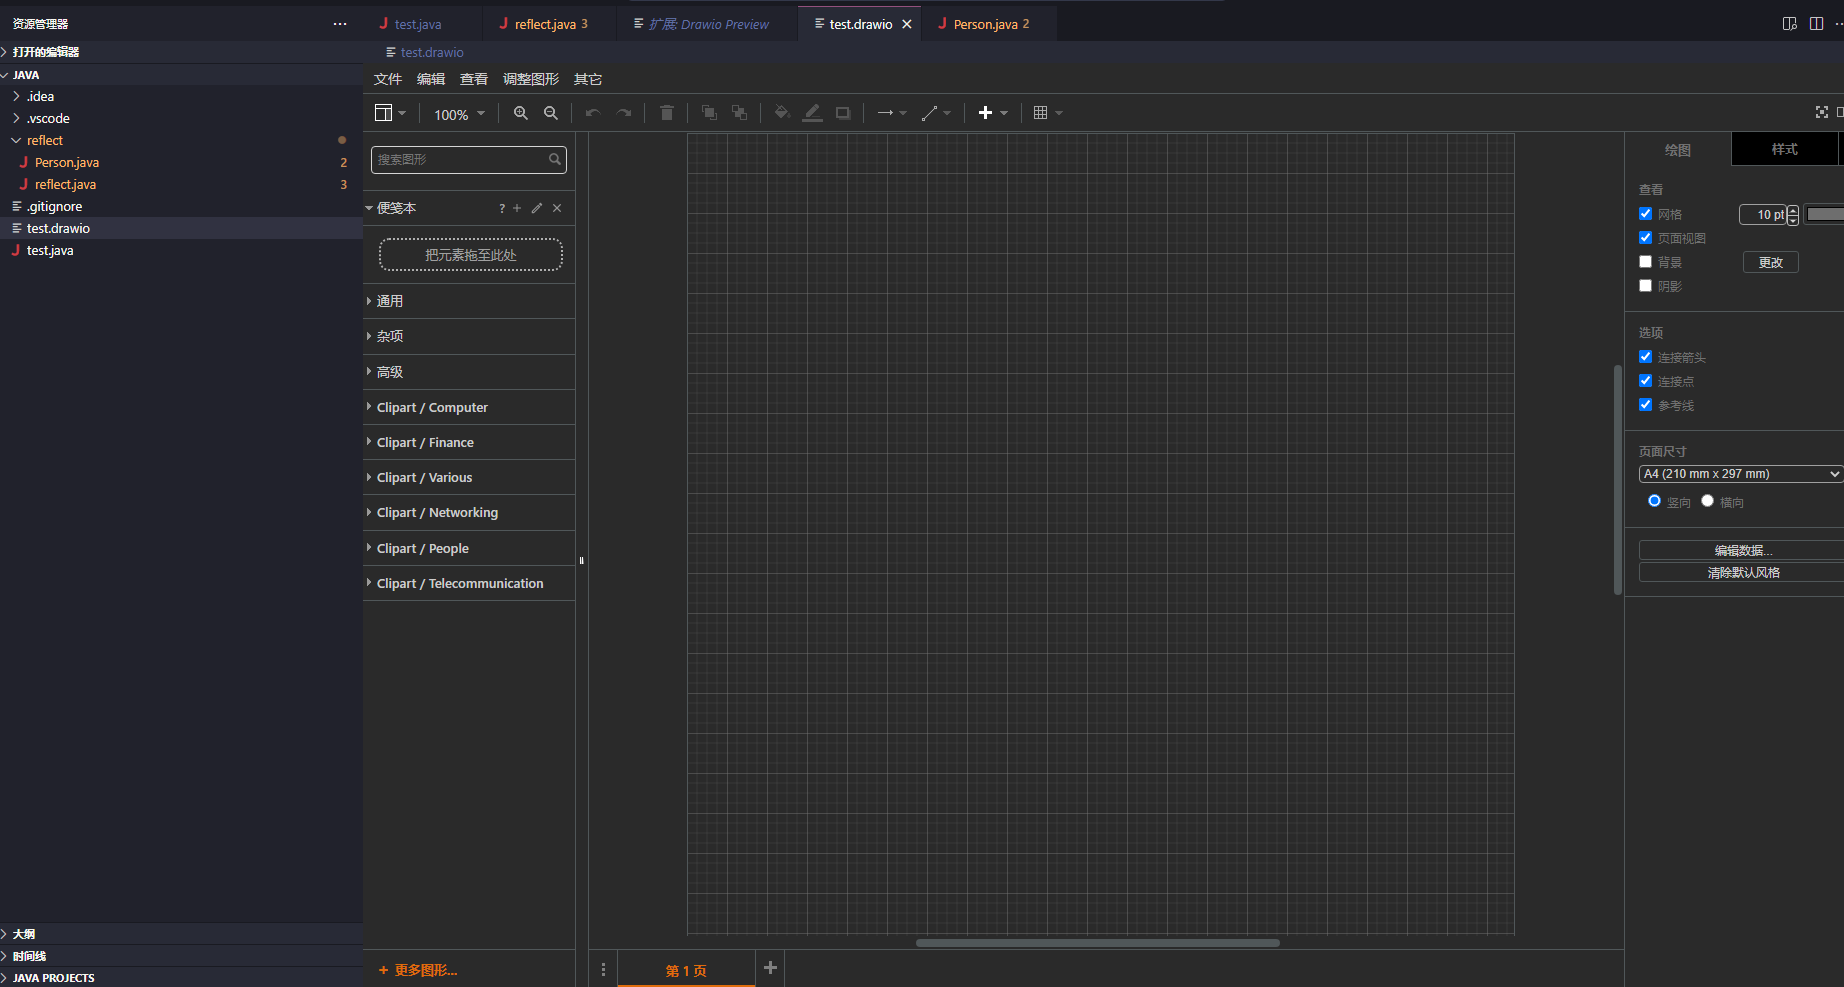
Drawio Preview
安装了 Drawio Preview 扩展后支持打开 .drawio 文件并开始绘图
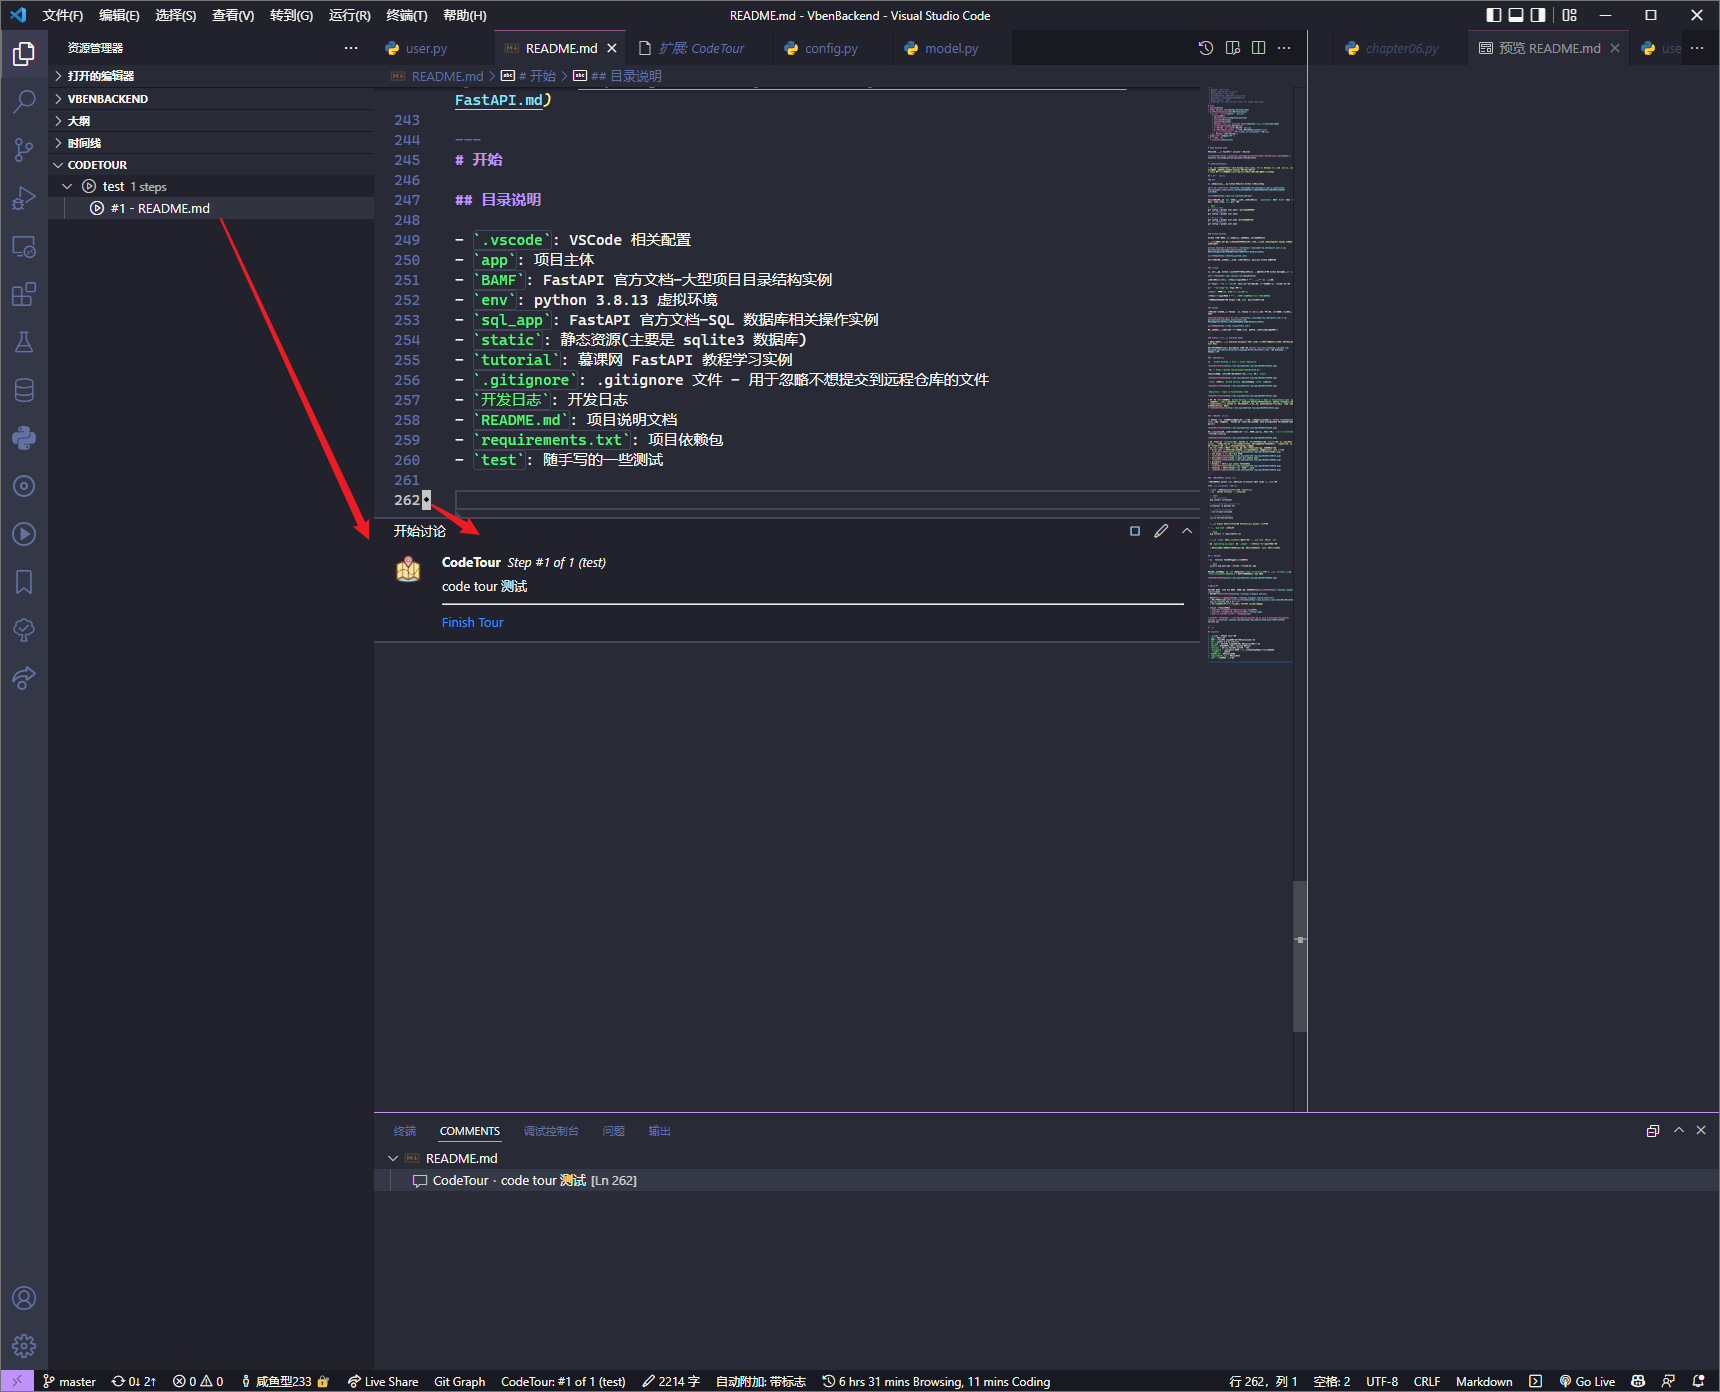
CodeTour
该扩展可以用来写业务逻辑步骤或者代码分步骤讲解式引导
Markdown 相关
个人编辑 Markdown 文件更倾向于使用 Typora, VSCode 中更多用于预览仓库中的 Markdown 文件以及格式化 markdown 文本
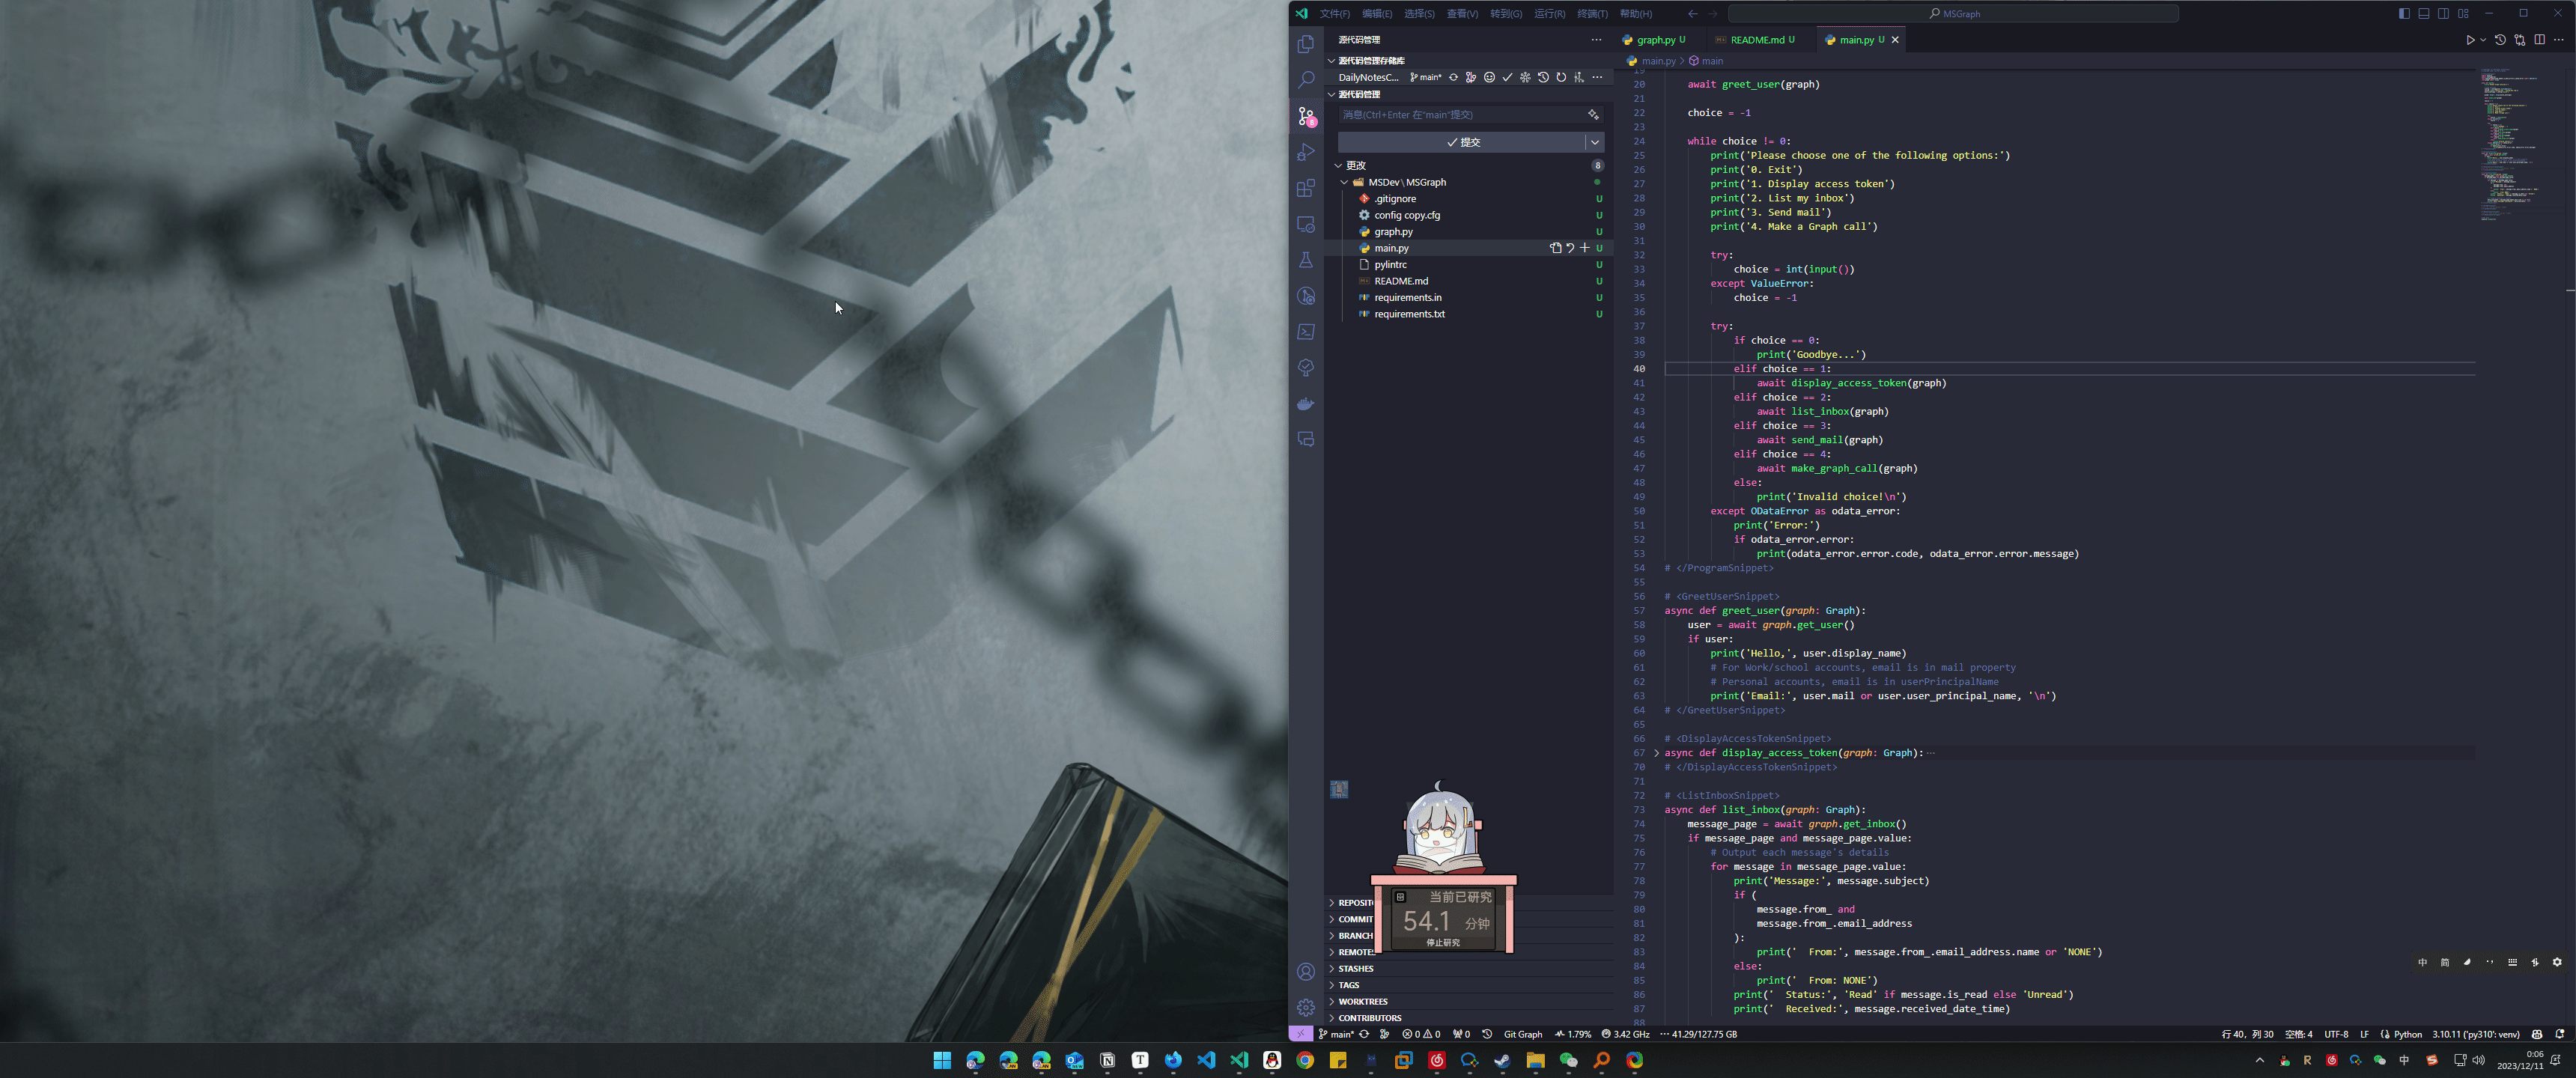
远程开发
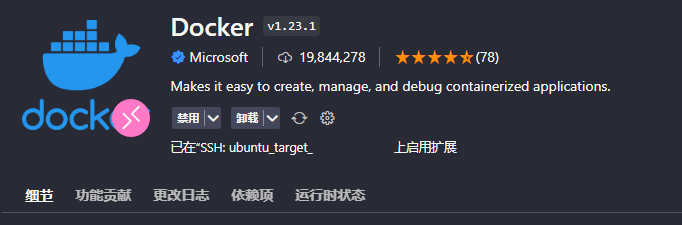
Remote - SSH + Docker + Dev Containers
以 Vulhub 为例
安装了 Docker 插件后可以便捷地在左侧查看当前的容器以及镜像列表以及 Compose 列表
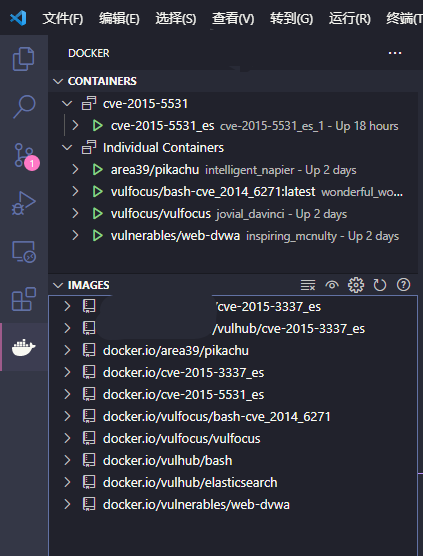
图中没显示 stop 的容器是因为容器太多了, stop 的容器可能很久都不会用了所以直接全清了, 镜像基本全推过 Habor 了所以也没什么顾虑
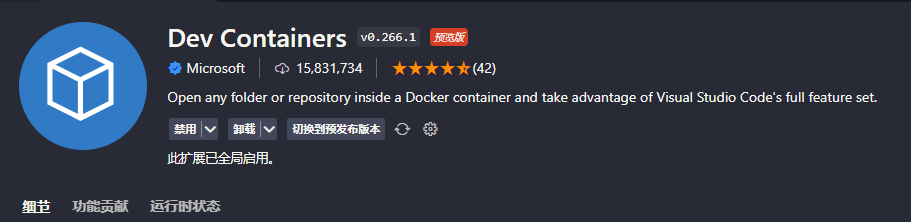
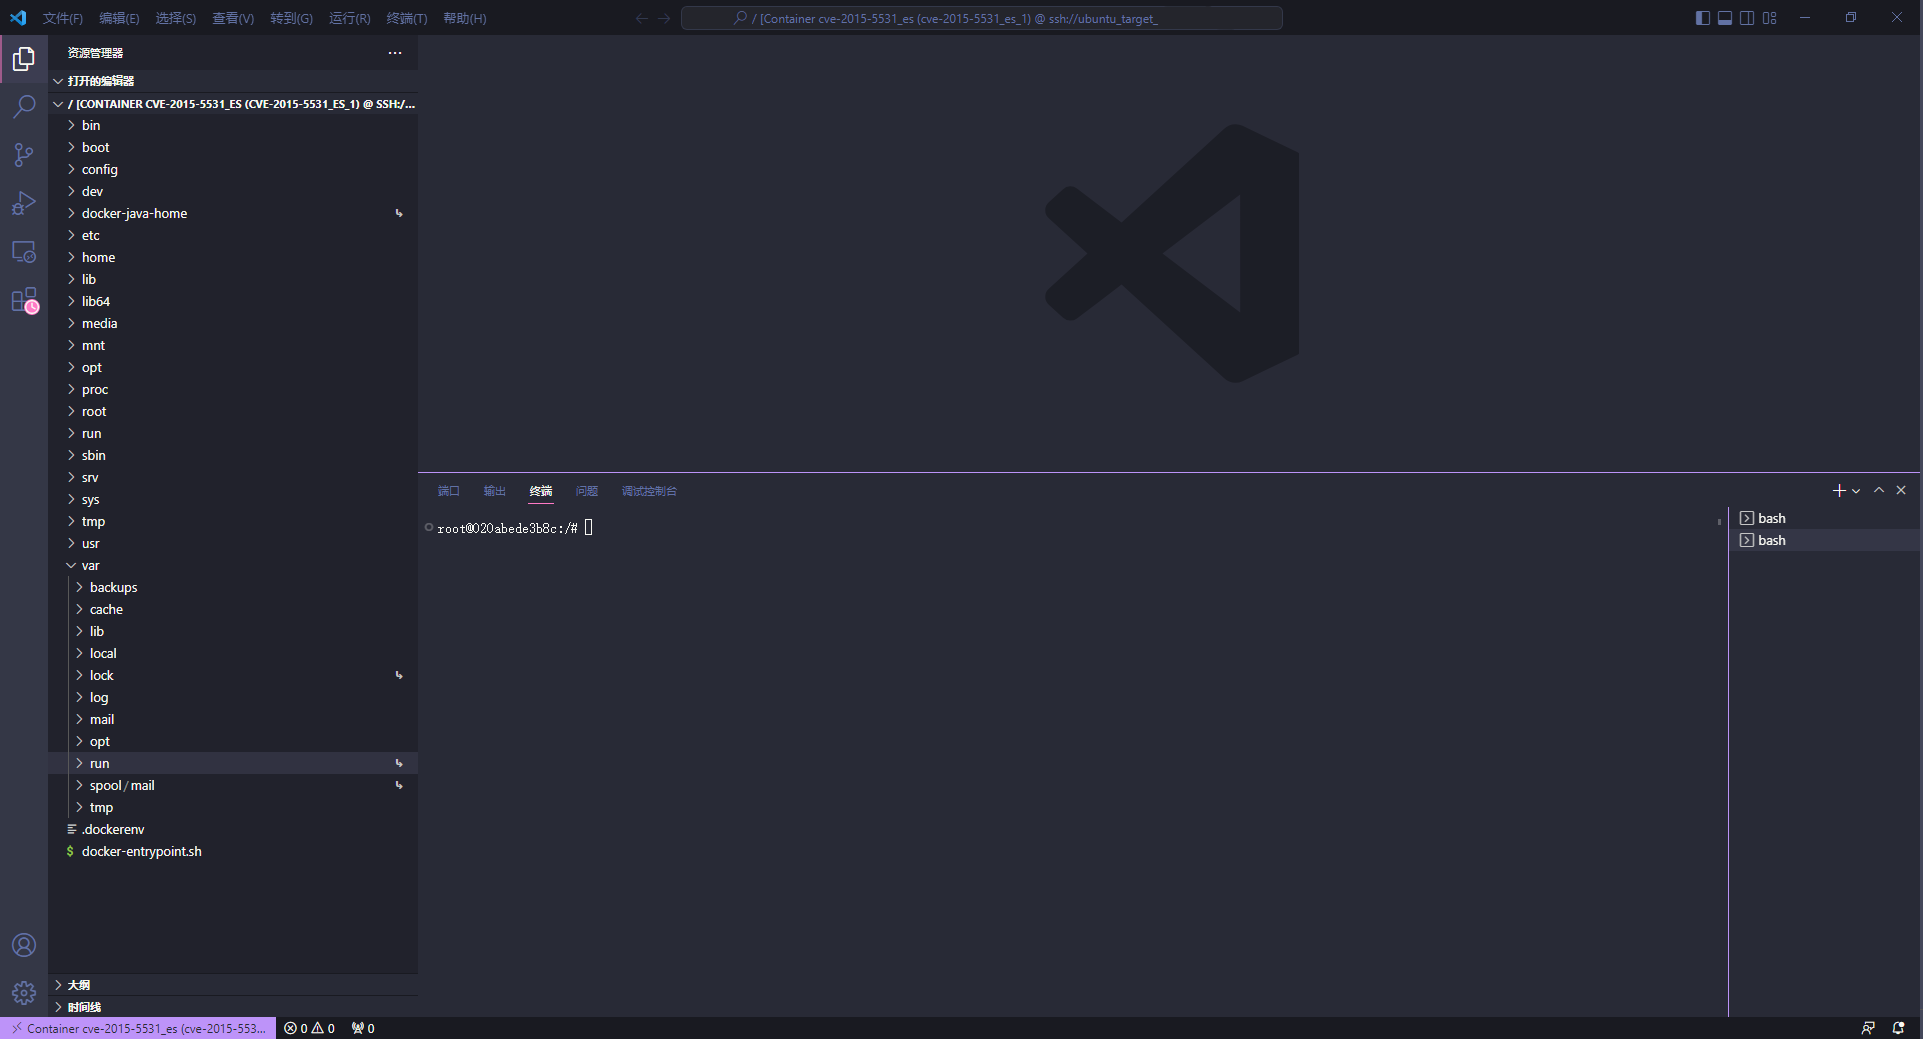
在安装了 Dev Containers 扩展后在任意一个容器上右键 Attach Visual Studio Code 会在页面上方弹出选择容器的菜单, 选择对应容器即可使用 VSCode 打开该容器

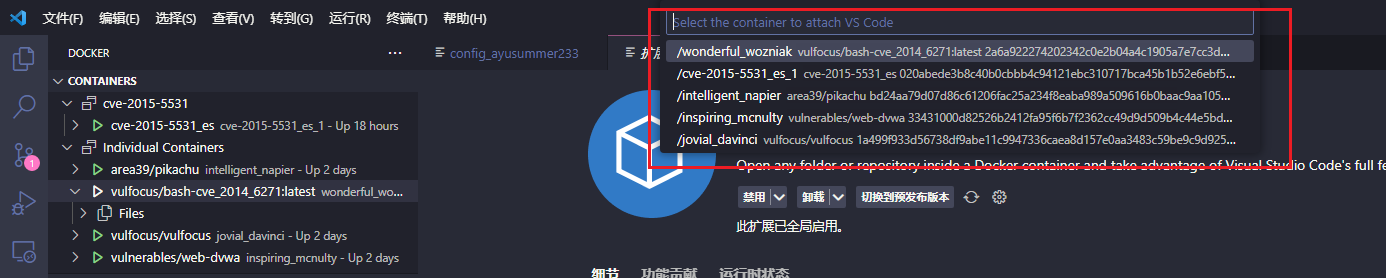
像首次 SSH 连接远程主机一样, 首次进入该容器时也会在其内安装 server

安装完 Server 后便连上了
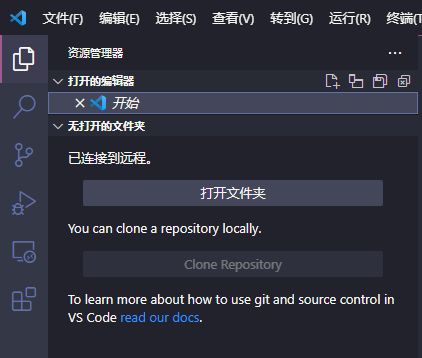
选择 打开文件夹 打开相应目录后即可像正常远程开发一样使用了
Remote-SSH 占用 CPU
解决:vscode-remote-ssh 远程连接后 rg 进程占用 CPU 问题_vscode远程开发长时间不关闭导致资源被严重占用_sigmarising的博客-CSDN博客
网络相关
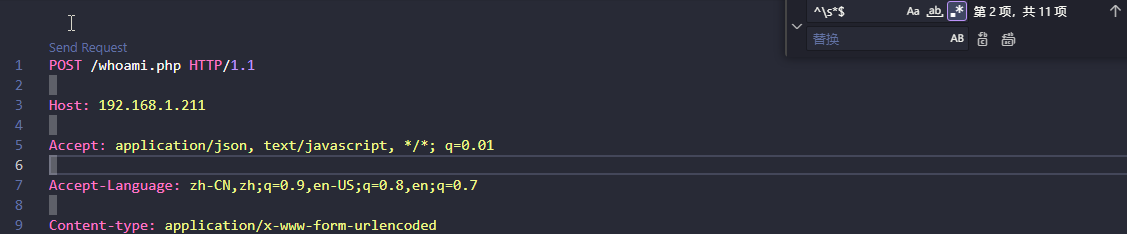
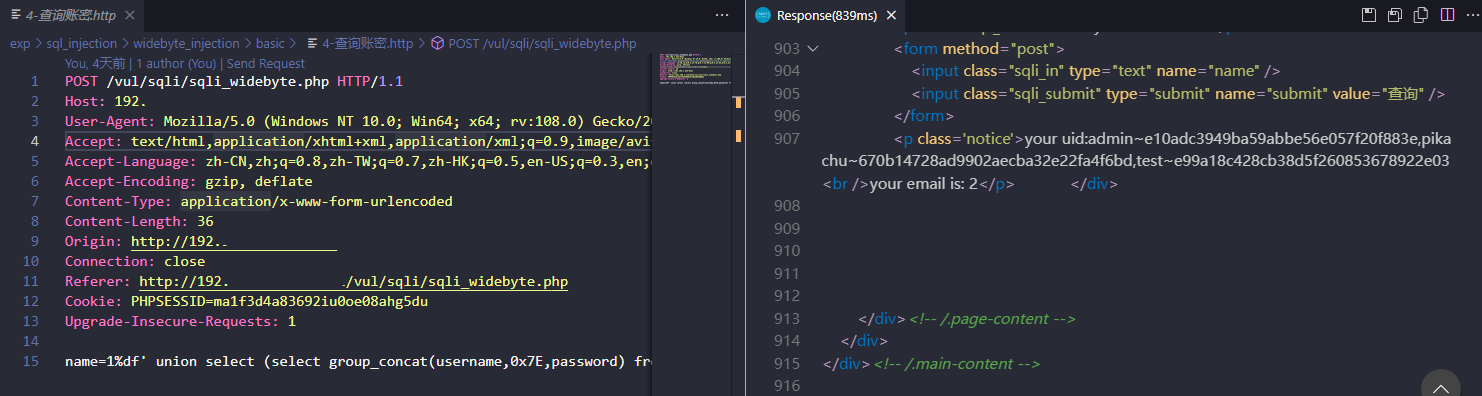
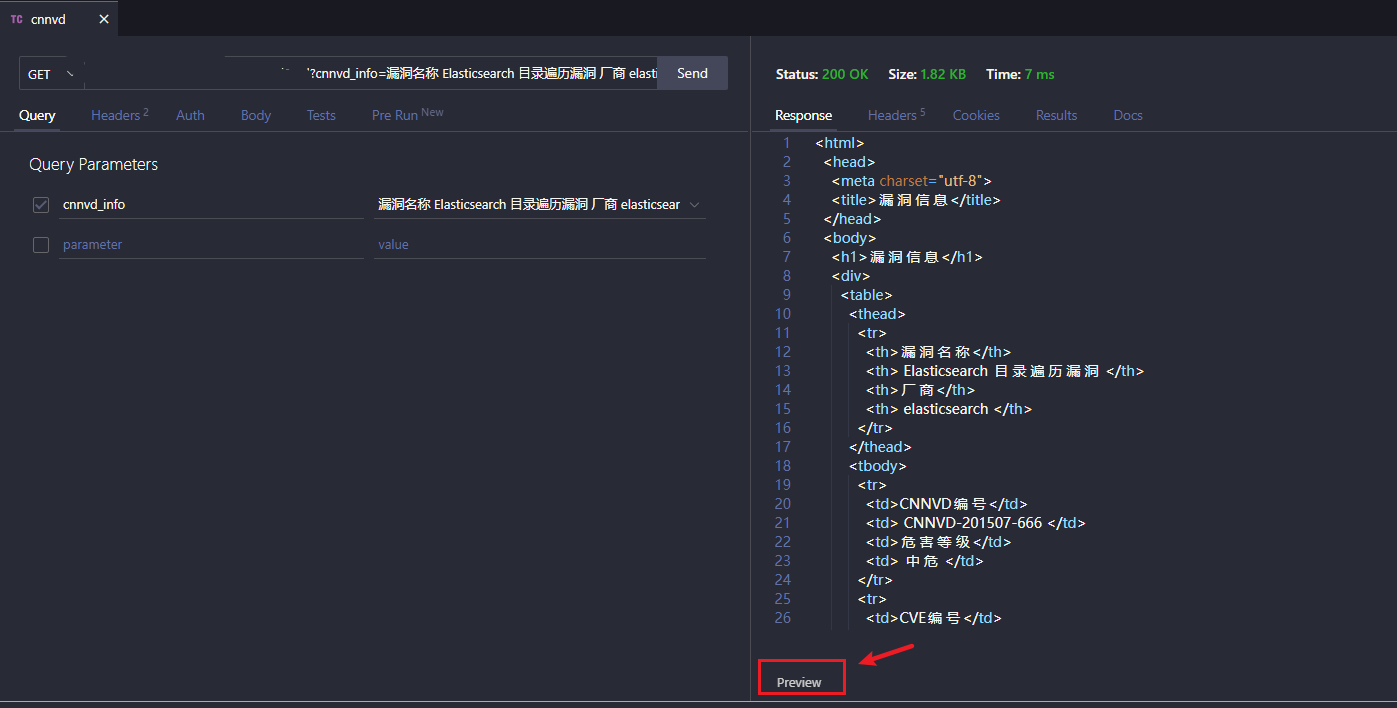
REST Client
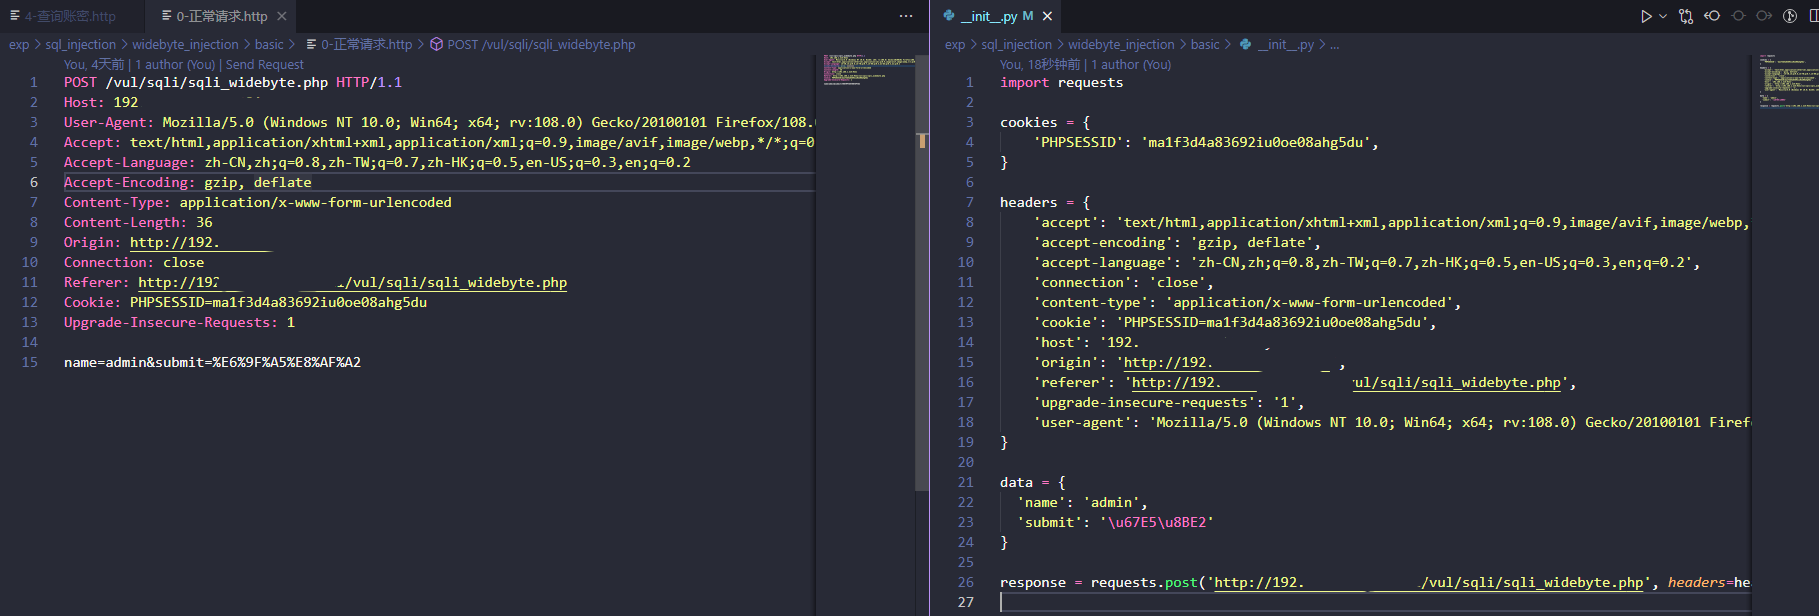
安装了 REST Client 扩展后可以直接发送 Burp 拦截的请求包, 比如 pikachu 靶场的 sql 宽字节注入:
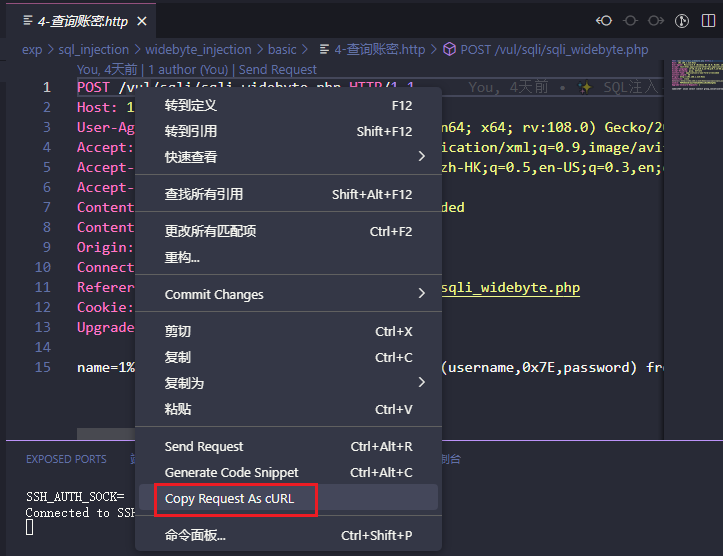
在当前窗口右键选择 Copy Request As cURL 还可以拷贝当前请求为 cURL 命令
拷贝后的 cURL 命令可以直接在 Linux 上发, 也可以导入到 Thunder Client 或者利用 curlconvert 转换为代码
curlconverter
安装了 curlconverter 后可以将剪贴板上的 cURL 命令生成代码, 流程如下:
使用 REST Client 将 Burp 拦截的请求转换为 cURL 命令后新建一个代码文件, 如 xxx.py, 打开该文件后右键可以看到 Paste cURL As Python, 点击后即可生成对应的 Python 代码
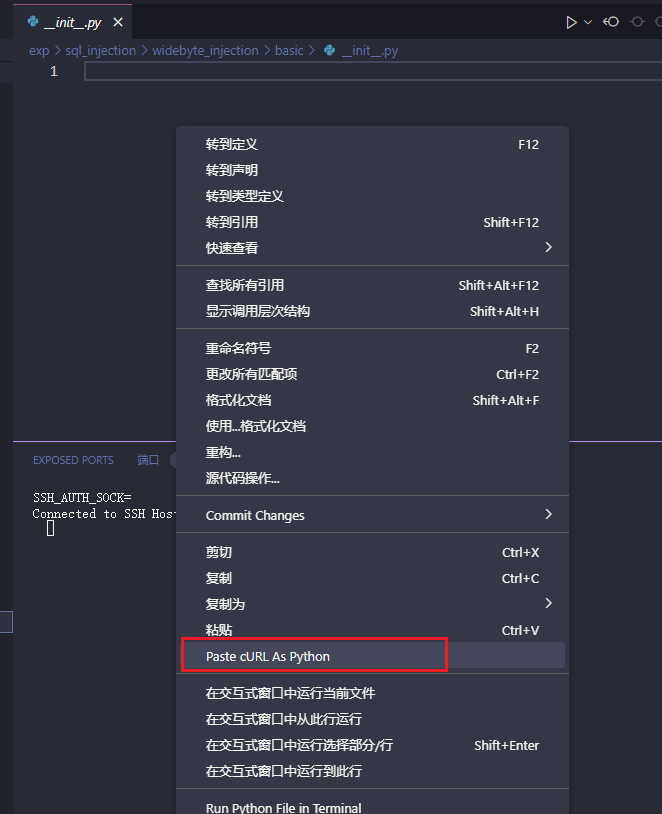
PS: 有些请求在被自定义修改后使用 REST Client 可能不见得能生成对应的 cURL 命令, 比如 SQL 注入的请求, 此时可以选择在修改前的请求上 copy cURL 命令
实际上查看 curlconverter 扩展页面可以看到最下面有说受限于 VSCode, 该扩展可能比起官网的版本要老很多, 所以当认为该扩展不太好使时可以去其官网 Convert curl commands to code (curlconverter.com) 试试

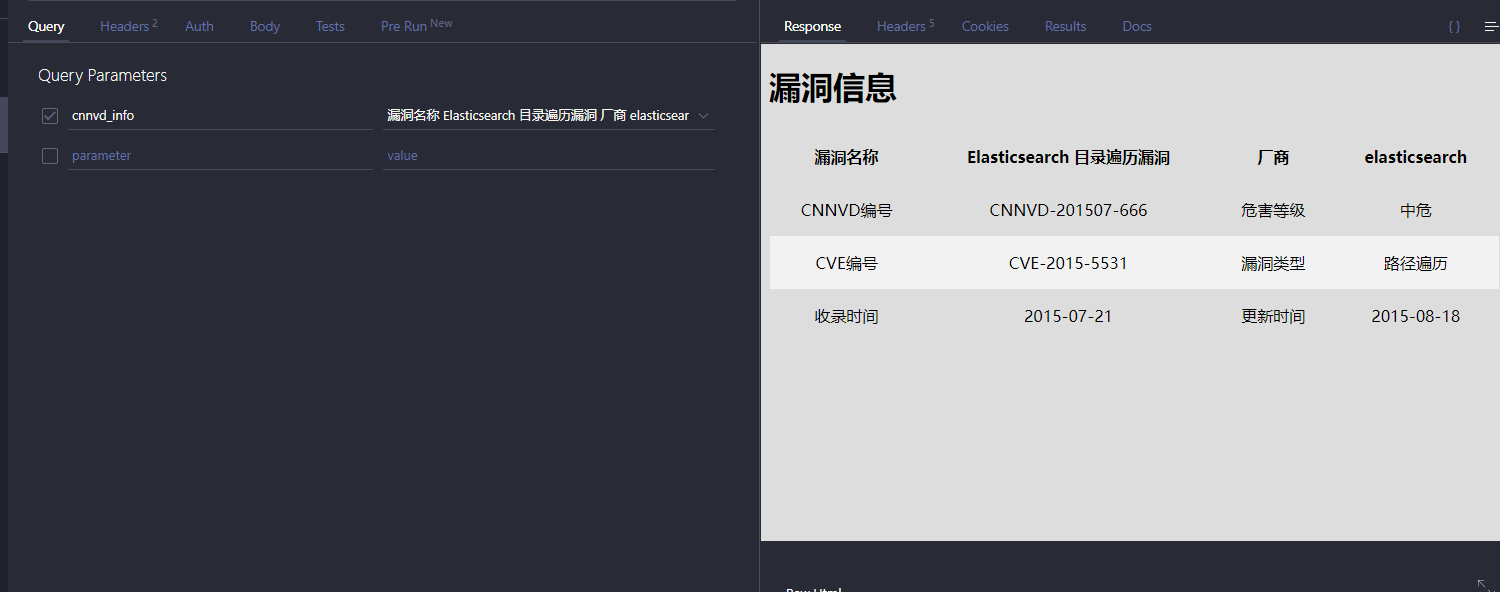
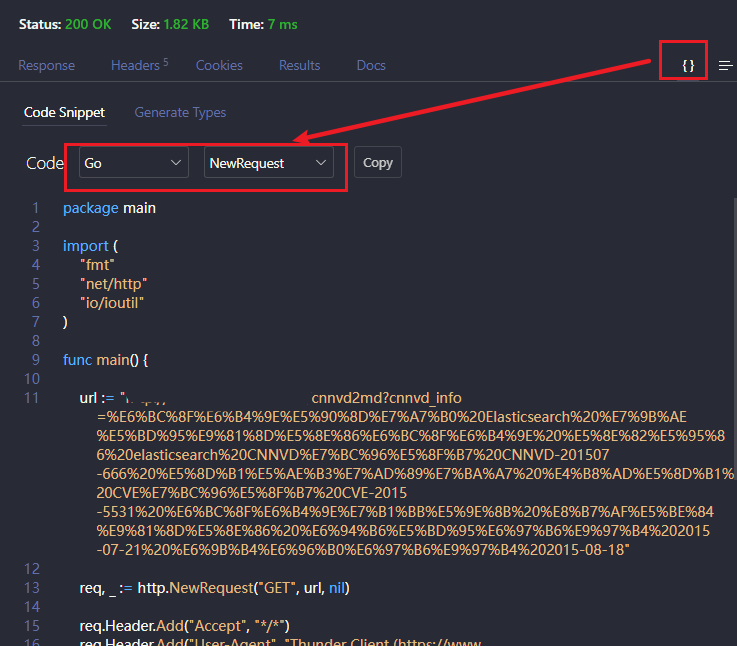
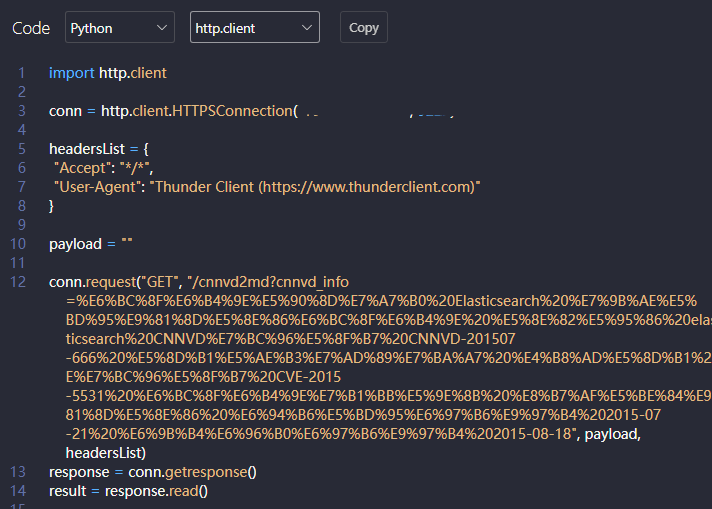
Thunder Client
(95) I Don't Need Postman Anymore!! I Use VS Code Instead... - YouTube
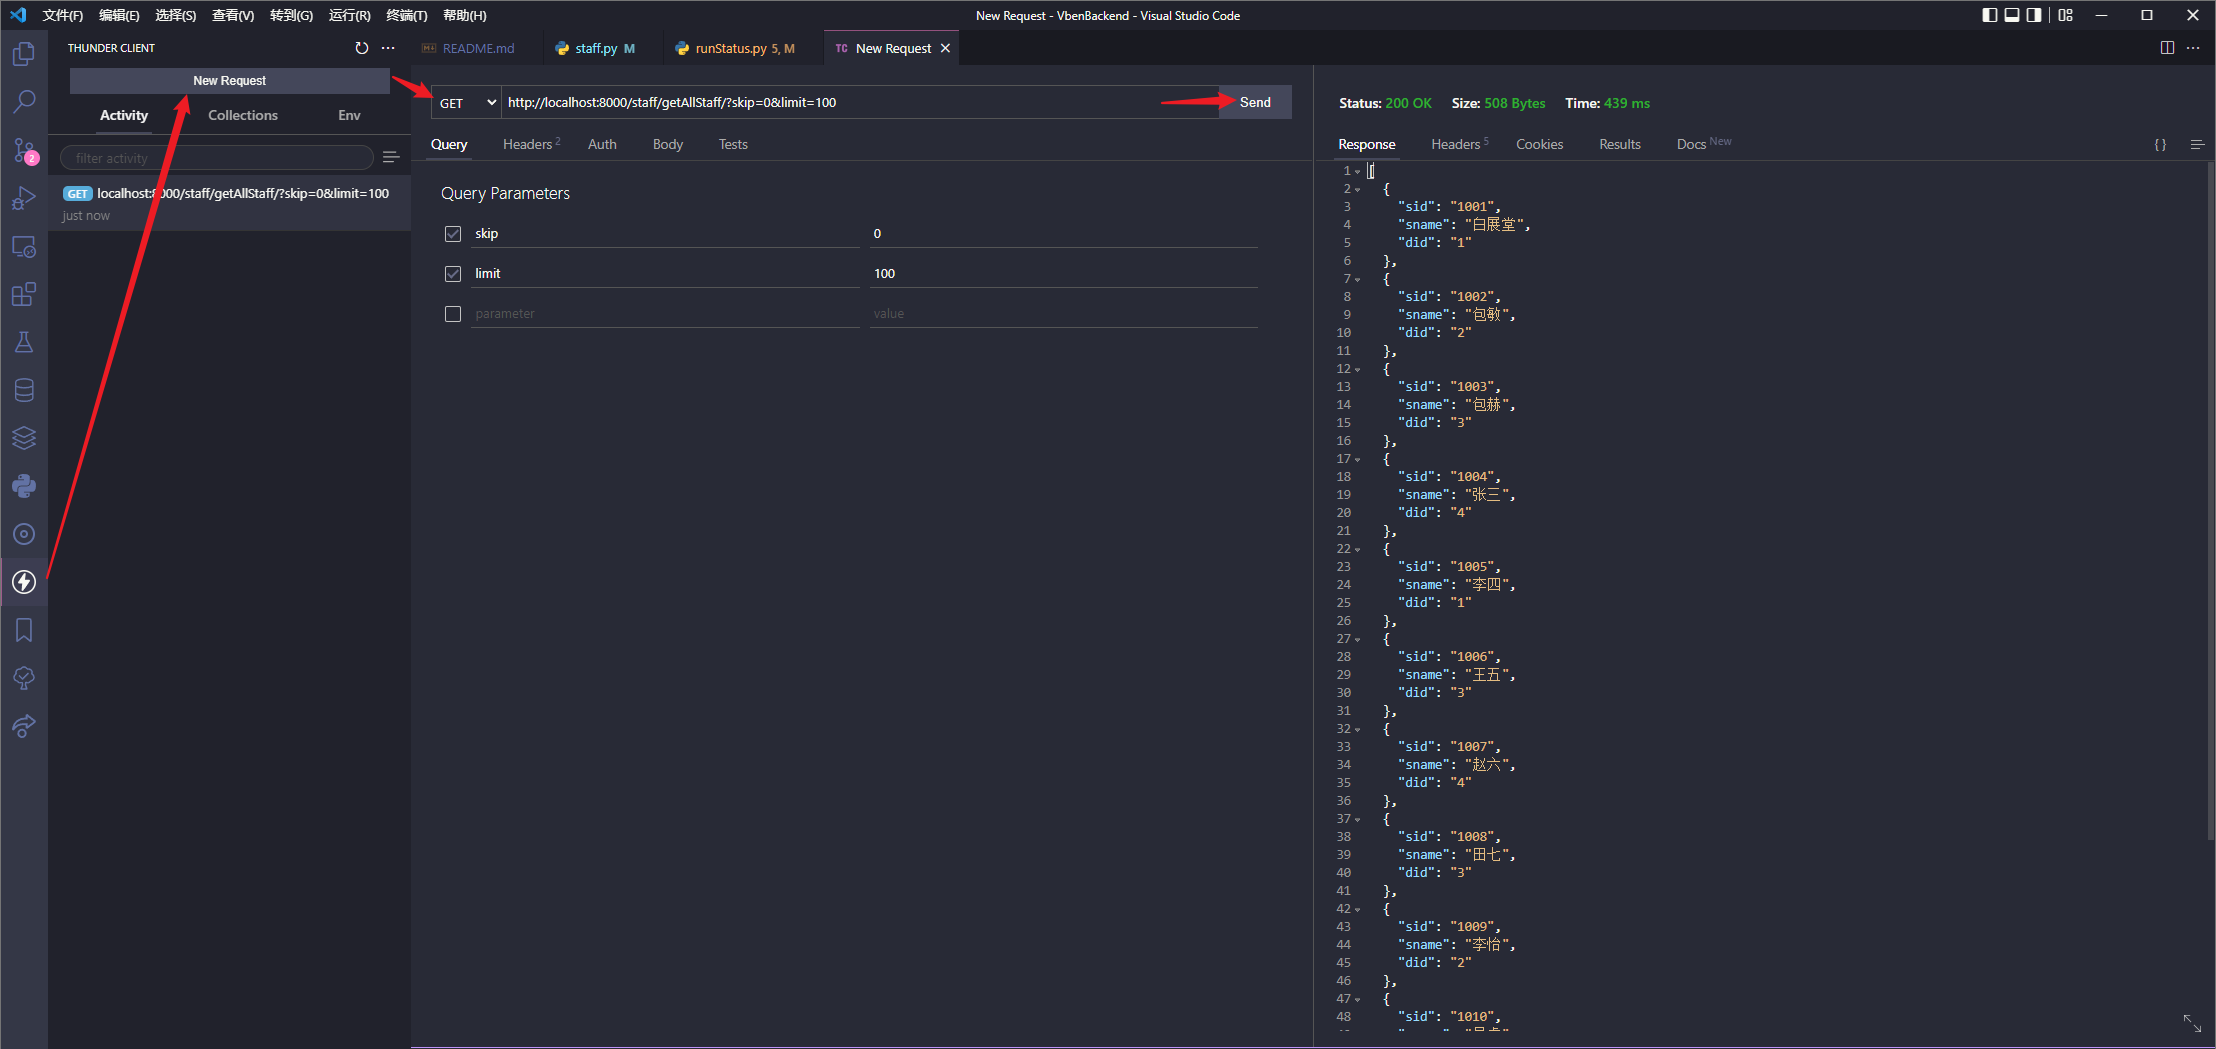
可以当成 Postman 的平替, 这样就不用多开一个软件调试接口了
支持预览响应页
支持将请求生成对应语言代码
编程相关
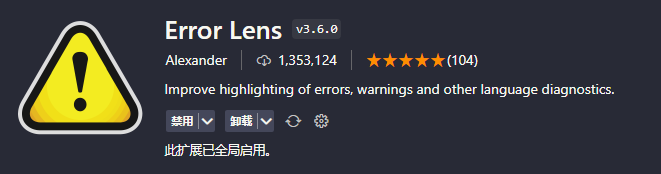
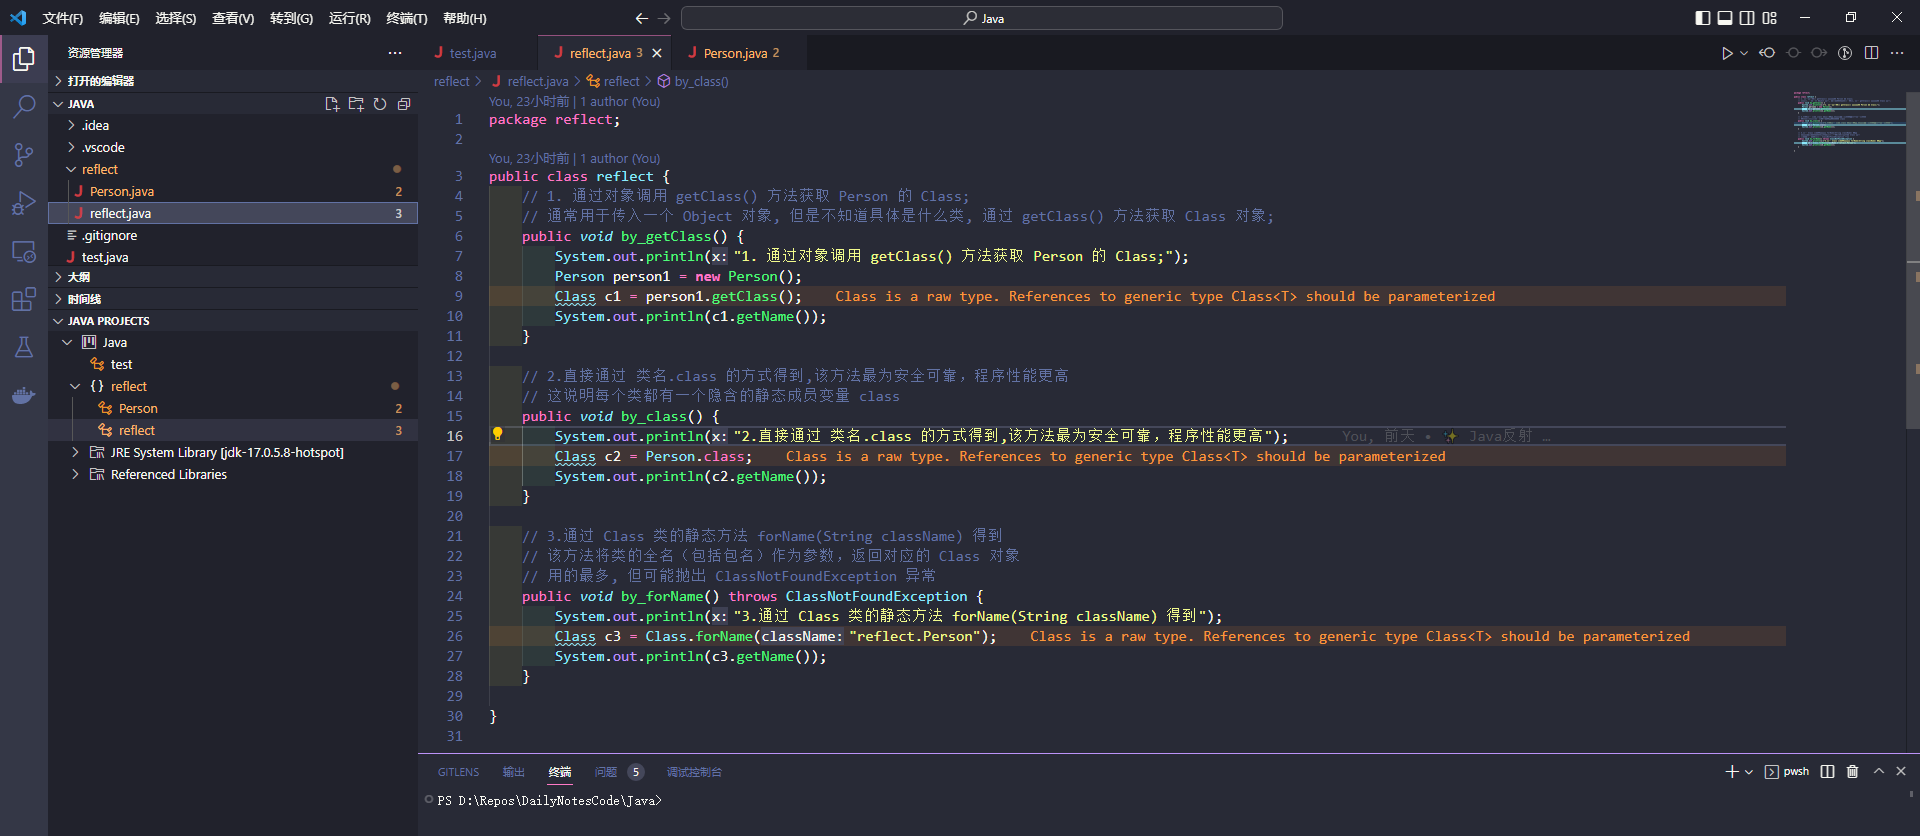
Error Lens
结合相关语言的语法提示扩展, 安装 Error Lens 扩展后可以在当前报错行显示报错/告警信息
Python
Python-autopep8
- 自动按照 pep8 规范格式化 python 代码
Sourcery
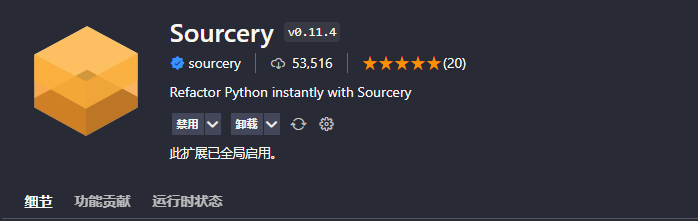
Sourcery-ai 可以给开发者提供 Python 代码的重构建议:

前端
prettier + ESLint
 用 ESLint 做约束, 用 Prettier 做代码格式化
已弃用扩展
Terminal
PS: 新版本 VSCode 该扩展已弃用, 目前直接使用工具栏上的终端指令
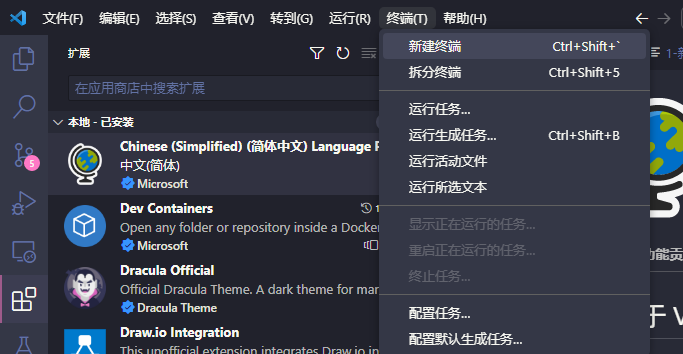
- 命令行终端

- 安装之后点击有效较的
Terminal图标进行使用
点开之后默认采用当前项目的根目录
清空终端信息
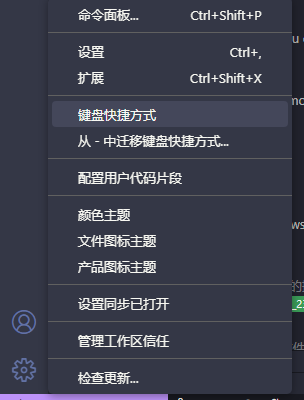
- ctrl+shift+p 呼出命令面板
- 搜索 open keyboard shortcuts
- 搜索 workbench.action.terminal.clea
实用更新记录
浮动编辑器窗口
Visual Studio Code November 2023 --- Visual Studio 代码 2023 年 11 月
V1.85 更新, 可以将窗口脱离出来成独立窗口了
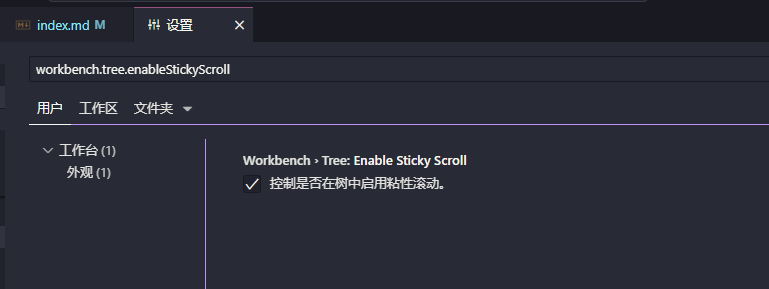
Sticky Scroll
Visual Studio Code November 2023 --- Visual Studio 代码 2023 年 11 月
workbench.tree.enableStickyScroll
报错收集
git Missing or invalid credentials.
git Missing or invalid credentials. · Issue #107024 · microsoft/vscode (github.com)


remote-ssh 一直 waiting for server log
vscode ssh 连接失败_我歌月徘徊、的博客-CSDN 博客_vscode 连不上 ssh
解决方案为删掉对应的加锁文件
rm -rf ****/vscode-server/bin/****
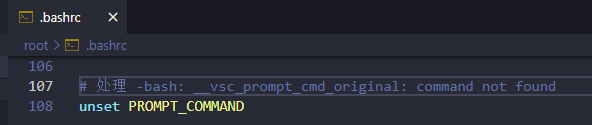
Remote-SSH + tmux 每次 bash 命令执行完都会有红色报错 ``-bash: __vsc_prompt_cmd_original: command not found`
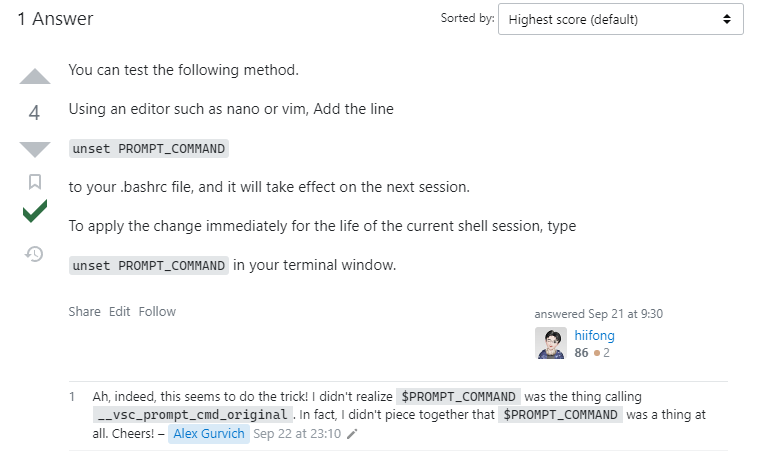
使用 VSCode 的 Remote SSH 扩展连接到远程服务器时, 其会在服务器 bash 环境中设置一个变量 PROMPT_COMMAND 用于显示 VSCode 的状态栏
当在服务器上使用了 tmux 或者其他终端复用工具时, 他们可能会覆盖或者清除 PROMPT_COMMAND 变量, 导致 bash 无法找到 __vsc_prompt_cmd_original 函数
unset PROMPT_COMMAND
source ~/.bashrc